< Back to previous parts restoration section


Gearbox Recondition
I was never going to use the early split case gearbox that came with the car, and I plan to eventually fit a upgraded unit such as a freeway flier. However, I wanted to get a later gearbox now as a mock up unit so I could weld in things like mid mounts, and later nosecount mounts on the floorpan.

This later gearbox was sourced from a good friend of mine Darryn Coleman of DC Customs (see Facebook page 'here') for a very reasonable price and luckily for me it had already been painted.

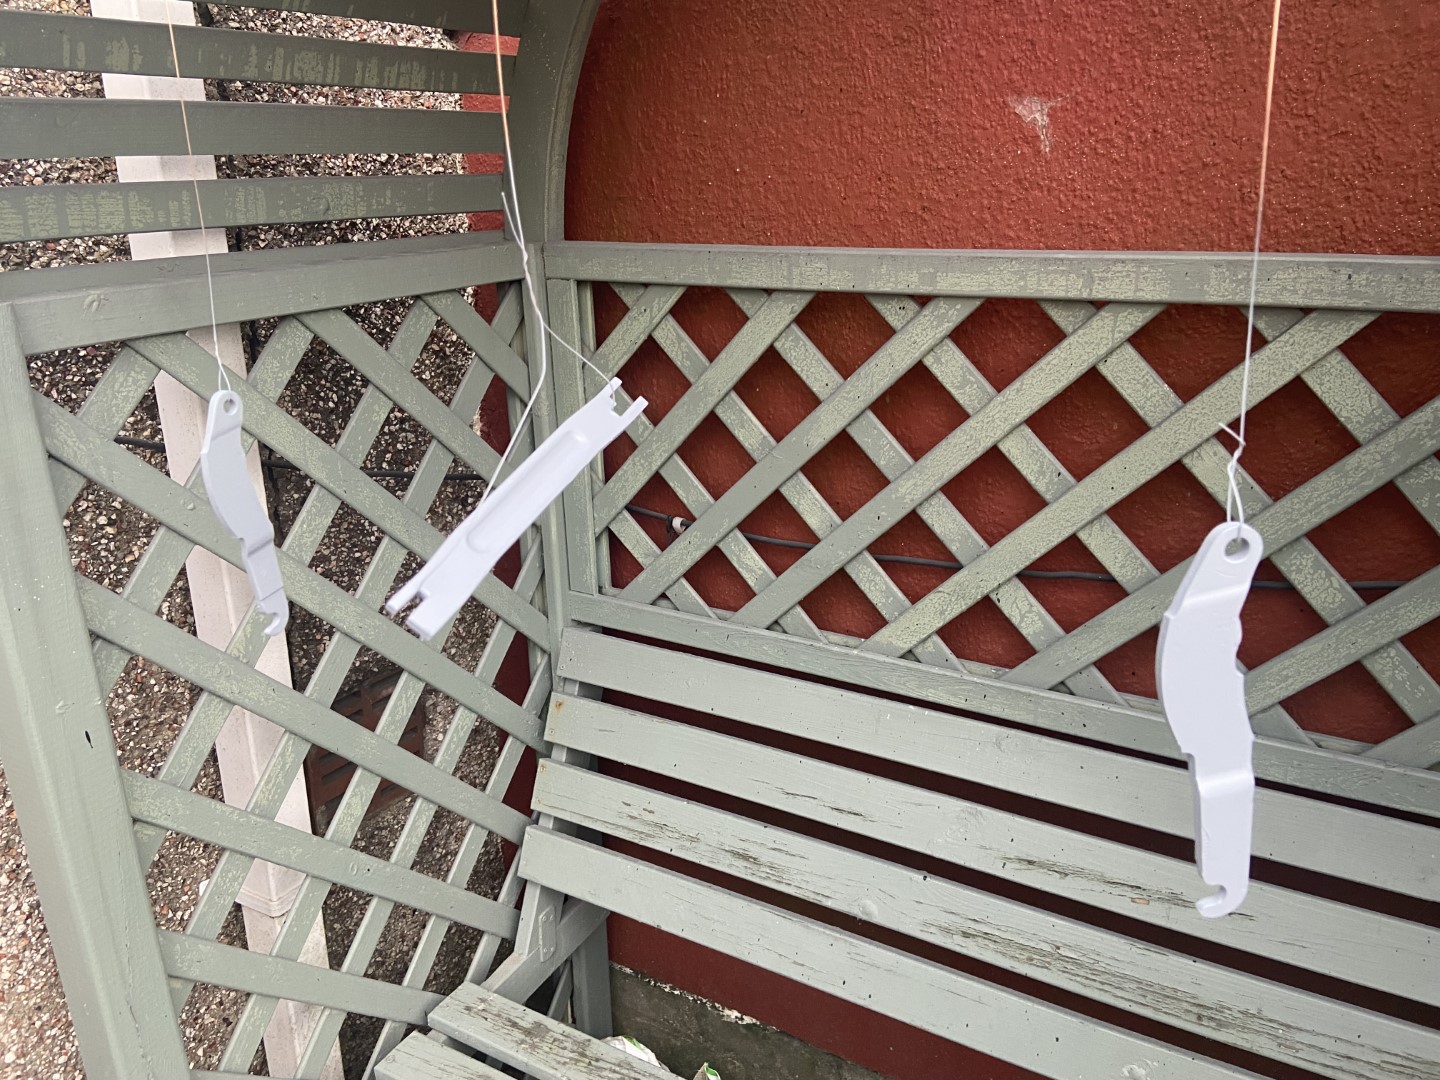
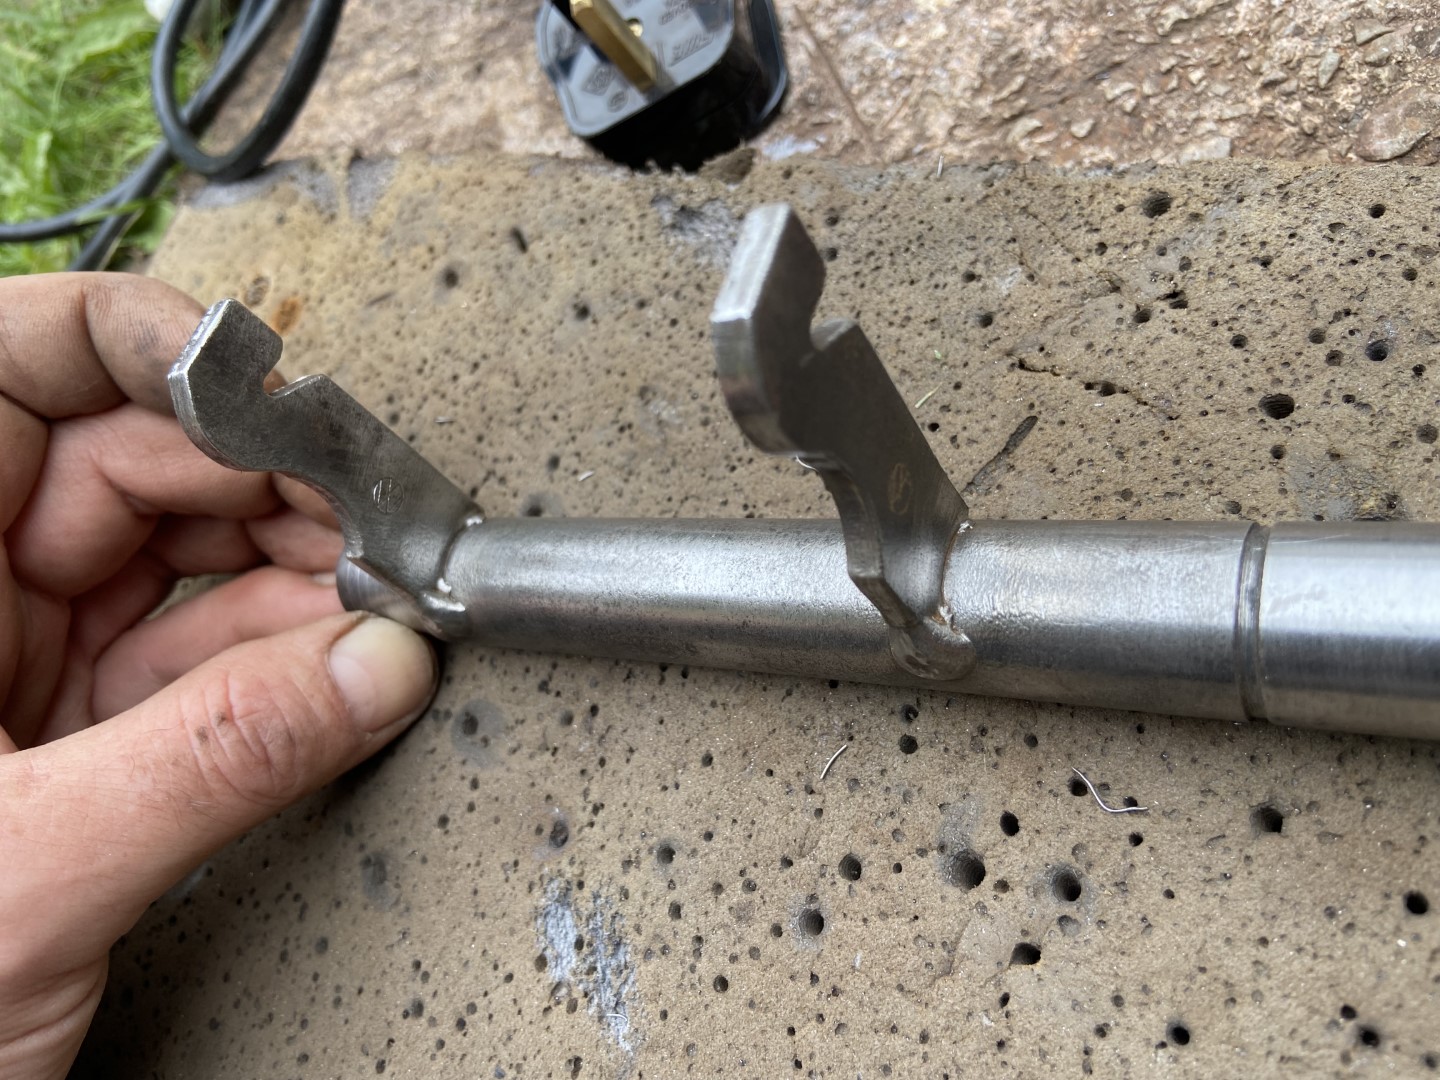
There were a few things that needed sorting. The throw out bearing was missing and the clutch arm shaft had too much play in it, so the first thing I did was to change the clutch shaft bearings, and fit a new the clutch throw out bearing and guide tube. Whilst the clutch fork arm was out I decide to reinforce it using an old racers trick of fully welding the forks up fully. This wasn’t really needed for the mock up box, I just did it because I could.


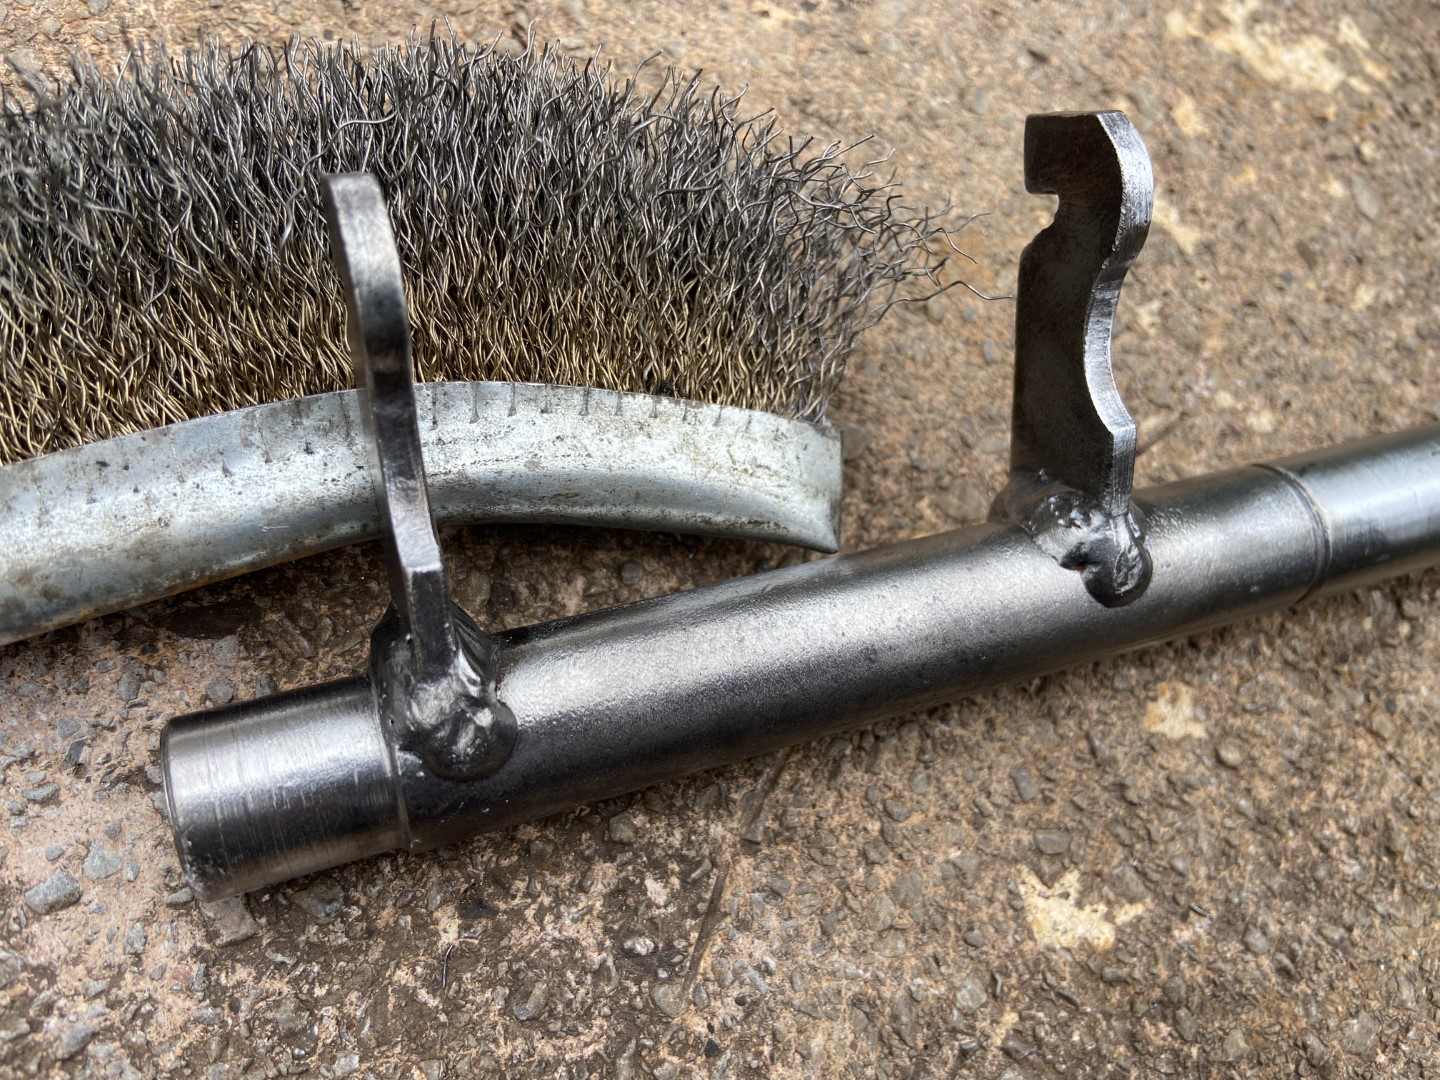
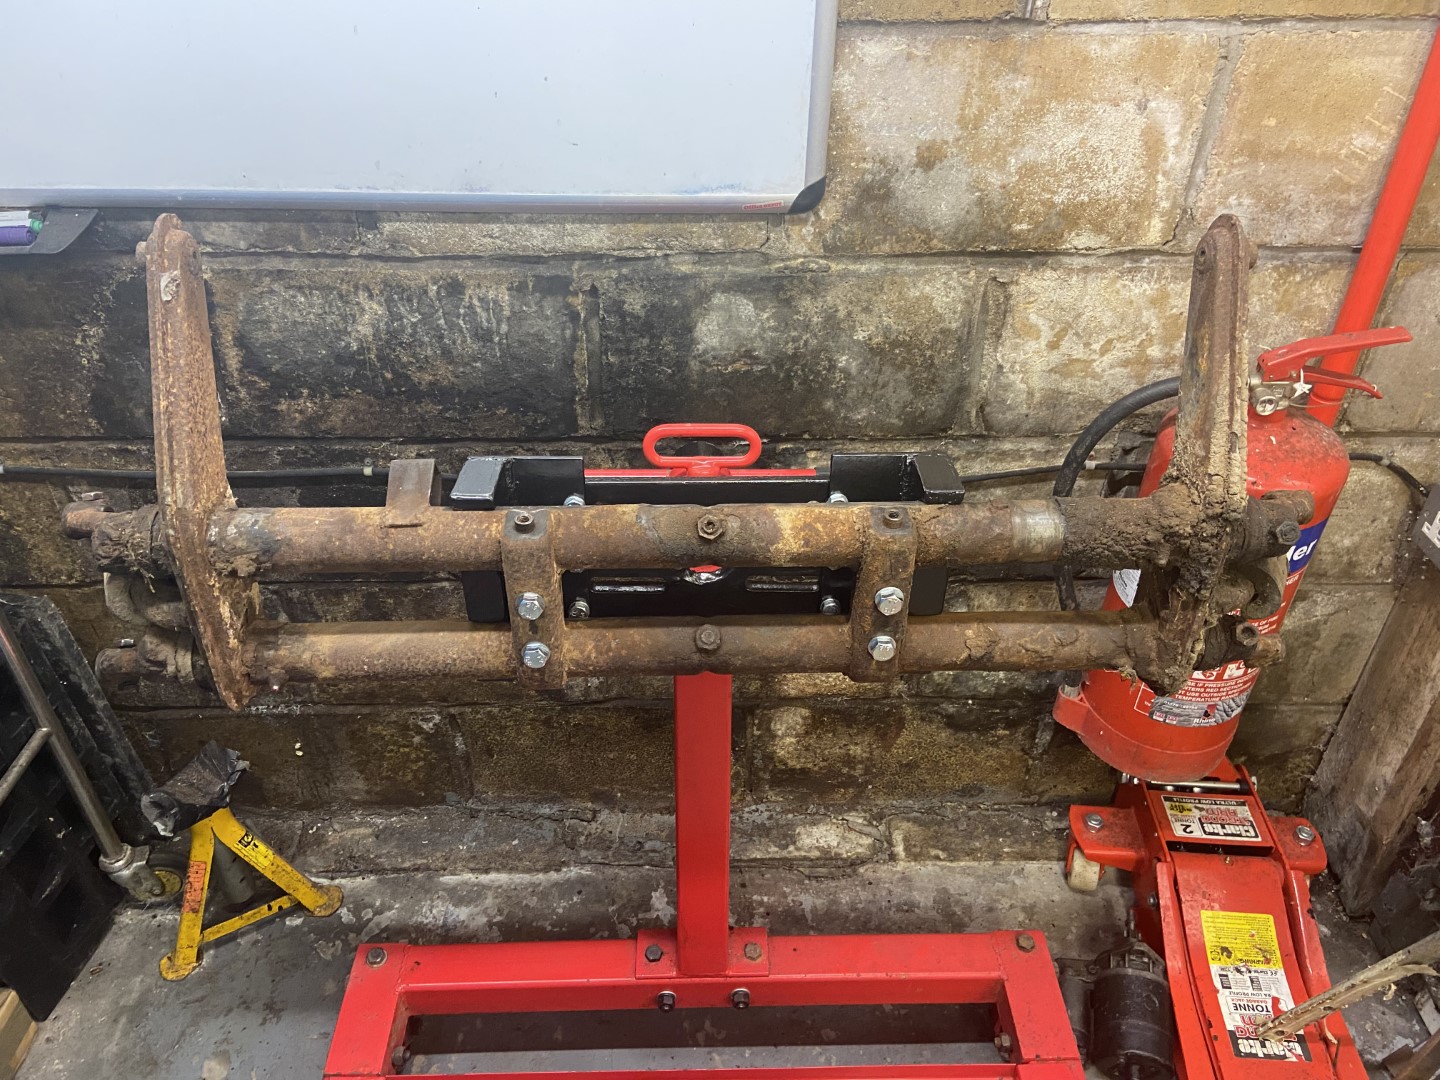
The next thing I did was to change the later nosecone to splitscreen nose cone. I did this as a later gearbox is difficult to fit in an early car as the hockey stick are at different heights (see the right-hand picture below). Also if a gearbox with a later nosecone are fitted in an early car it angles the gearbox and engine up. By using a splitscreen nosecone and hockey stick the engine and gearbox is kept at a standard angle, and the hockey stick fits in the tunnel at the correct height.


And here's the gearbox work finished ready to be fitted into the floorpan.


Front Brakes
Watch this space......


Rear Brakes
Once the gearbox was out I started to strip down and restore was the rear brakes. One side although very rusty was complete, but the other side had all the internals missing. Luckily, I had loads of spares from previous car builds so could find all the bits.

Turning my attention to the backing plates these were very rusty, and the star adjusters were very much seized. I ended up drilling them all out. The backing plates are really rusty, and a good friend (Neil Davies) has very kindly offered to sand blast them for me.

Next up the internal components were bare metaled and painted. The following pictures show the different parts in various stages of paint.


Brake Components
Next up is the brake fluid reservoir, or reservoirs! The one on the left is the original one. The connection pipe on the bottom had rotted off so I just welded this up as it is not actually going to be used. I will be using a dual circuit master cylinder located elsewhere. It’s still nice to have it there in the footwall though as it would have been. On the right side is a later dual circuit reservoir. I’m toying with mounting this behind the dash as per later ghia's, or above the right wheel well as on later beetle. It’s sort of a work in progress as not sure exactly what I’m doing with it yet.

The rear brake t piece was removed and polished up, with the mild steel fitting being replaced with stainless steel fittings to stop any future rust.

Even though I am probably going to make an easier to fit version of these that doesn’t require bending (and ruining the paint!) the original brake line clamps were cleaned up and painted.


Front Suspension
Other than take it off the car I havent done much with the front suspension so far. I have however built a mount for a engine stand so that the beam can be mounted to this and worked on easily.


......however I did know that the front end of the car was always going to be lowered. Originally, I was just going to cut the beam and weld adjusters in, but a pair of dropped spindles with new king pins already fitted came up at a good price on eBay so I decide to go that route. I know they widen the track, but I thought I would check by exactly how much so I could factor this in to maybe making a narrowed beam at a later stage. The third picture gives measurements for both an original spindle (top) and a dropped spindle (bottom) and shows that the dropped spindles widen the track by 1.5 cm a side or 3 cm overall.


Rear Suspension
As the parts began to be stripped of the floorpan, I started to clean them up and paint them. First up was the spring plates.


Floorpan components
There are a number of bolts and washers for mounting the body to the floorpan and all of these needed attention in one way or another.

Looking firstly at the floorpan washers these were cleaned up, straightened, and I have begun to paint them (long job, there’s 22 of them!!)

However, I have also got a stainless version of the washers, and I am still not sure which I will end up using yet.

In terms of the fixings (i.e. bolts) for the floorpan washers, I decided to remake these in stainless. Rather than use standard hex bolts, I though cap head screws actually looked nicer. 17 more to make!!

The body to beam mounts washers were cleaned up and painted. Stainless bolts and washers were added as well as new rubbers being fitted. The washers had to be adjusted to fit within the beam mount plates. Annoyingly, the paint reacted on one of the beam mounting plates. It will get bare metaled and repainted at some point.

Looking now at the rear arch body mounts I can’t decide whether I’m going to use the original metal plates and bolts, or replace them with stainless items. Thus I restored/ fabricated both so I can decide later!!


Moving on to other floorpan components, the original cradle from the car was well past being used. In fact it looked like the car had been towed on it at some point!! Therefore, another one was obtained and reconditioned. I will replace this with an up-rated version at a later stage (see last picture), but for now I will use the standard one to measure the angle to original gearbox sits at, so that I can make sure when I fit a later gearbox it is fitted it is at the same angle (already done, see Early Gearbox Mount Adaption for Later Gearbox Mount and Box). It will also allow me to do other performance modifications, such as welding in mid mounts, without having to fit the uprated one.


The front tunnel cover plate was taken off, cleaned up and repainted. Stainless fittings will be used when its finally refitted.

The gear linkage coupler cover plate was also cleaned up and repainted. Again stainless fittings will be used when its refitted.


And a very rusty gear linkage was cleaned up and painted.


Misc Parts
Below are a few miscellaneous parts that were cleaned up and painted.

First up are the tank clamps. Of course, these got some stainless fittings. As with several the other fittings, the washers had to be slightly narrowed to fit.

Door catches were cleaned up and fixings were replaced with stainless items. I also repainted the spacer plate. I did it silver for a change as I’d used loads of satin black!!

I stole the idea of drilling the dipstick of a friend of mine Lyndon Creamer that did it for his amazing show car! The dipstick is smaller than you think and the holes are only 2.5mm. This took a lot longer than you expect to do!! Turned out OK in the end though.