< Back to previous parts restoration section


Tail Lights
The taillights were pretty straight forward. One of the lenses was broken, but the other was saveable. A good second-hand pair of taillights came up, but these had later fitting on the electrics (spade terminals not screw fittings), so I just robbed a lense to make a matching pair with my original tail light housings, cleaned them up and it was done. Nice for it to be an easy job for once!


Grab Handle
The grab handle was in a very bad state when I removed it. That made me want to save it even more!! It was cleaned up with a lot of sanding and polishing, and it sort of turned out ok. I like the non-perfect finish as it is a nod to the history of the car.

I got some leather and upholstery thread and my wife (thanks Nat!) using her embroidery machine sewed the seam down the edges of the leather just as would have been on the original. I then glued this to the handle. I think it turned out alright.

There was also a support bracket that sits behind it which was rusted away. I remade this and gave it a coat of paint.


Door Handles and Ignition
The door handles were never going to polish up perfectly given they’d sat out in the elements for 15 years, so I just polished them up the best I could. I sort of think the rough finish goes with the rest of the car! Not surprisingly after 15 years the keys were missing, so the door handles and ignition were sent off to Desi Yates the wizard of locks (see his facebook page ‘here’) who provided a pair of matching keys for all.

Something I could tidy up was the ignition switch. The body of this was cleaned up and repainted.

I also wanted to delete the choke pull cable which goes through the top mounting hole of the ignition switch as I was never going to have an engine with a choke. I ended up making a blanking bolt arrangement using a stainless-steel coach bolt and a custom-made spacer (again using my trusty drill and grinder set up!). It turned out not to bad and I think it should look ok.


Window Winders/ Door Internals
The doors are off the car, and I finally got around to stripping the internals out of them. The winder mechanisms were pretty rusty and the plastic wheels on them had perished long ago, but they were still saveable. (Sorry I know I’ve mixed the pictures of the two sides up here, but I just wanted to show what I did).

As far as I’m aware, the plastic wheels are not available, so my good friend Phil stepped in with his 3D printer and printed me a new set!! Thank you dude you’re a legend.

The original wheels are riveted on, and this was not how I wanted to fix them, as for a start I didn’t have a hydraulic press to fit large rivets!! Therefore, I machined (grinder and drill lathe again!) down a nuts, which were welded on to give a low profile fixing. I’m pleased with this as it turned out nice. The concaved fixing bolt (stainless of course!) also had to be turned down.


So now all the repairs were done, it was time to clean up and paint the actual winder mechanism.


Next up to sort out was the window glass guide thing. Again, this was pretty rusty, but it cleaned up alright. More custom (stainless) fittings were made. There’s not actually much of the hex left on this for the allen key to fit in so I might slot these in the future.


Steering Wheel
The steering wheel was complete but in really bad shape having loads of cracks all over it. Originally, I had thought about replacing it with a wood rimmed steering wheel, but a conversation with a number of people on the Karmann Ghia Owners Club (GB) Facebook page (see link 'here') made me realise that this was actually a super rare one year only part. Therefore, I decided I really wanted to save it whether I use it or not.

All the parts of the wheel actually came apart ok, with the only issue I had being the three pins that slide through the steering wheel behind the horn press to make a circuit and activate the horn. These were jammed solid, and although I tried pin punches, releasing spray, etc to get them out they would just not budge. In the end I snapped them off and very carefully drilled out what was left of them.

As I’d snapped the pins off I needed to replace them. I didn’t have any brass rod lying around, but what I did have was brass screws. Using my trusty drill and grinder technique I managed to fashion a new set of pins that should work just fine. These will need cutting to length at a later stage.


The next step was to repair all the cracks in the steering wheel. I started off by repairing the hub and spokes, basically to see if I could actually restore the steering wheel. The big cracks were repaired with araldite epxoy glue, and then the small imperfections were filled with standard filler. This was a long job which was mostly done by hand!!


I hate sanding filler, but it was a necacery evil! I had to put a few skims in but it turned out OK in the end. Once I was reasonably happy I applied a few coats of plastic paint. Next step, do the outside of the wheel!


Steering Components
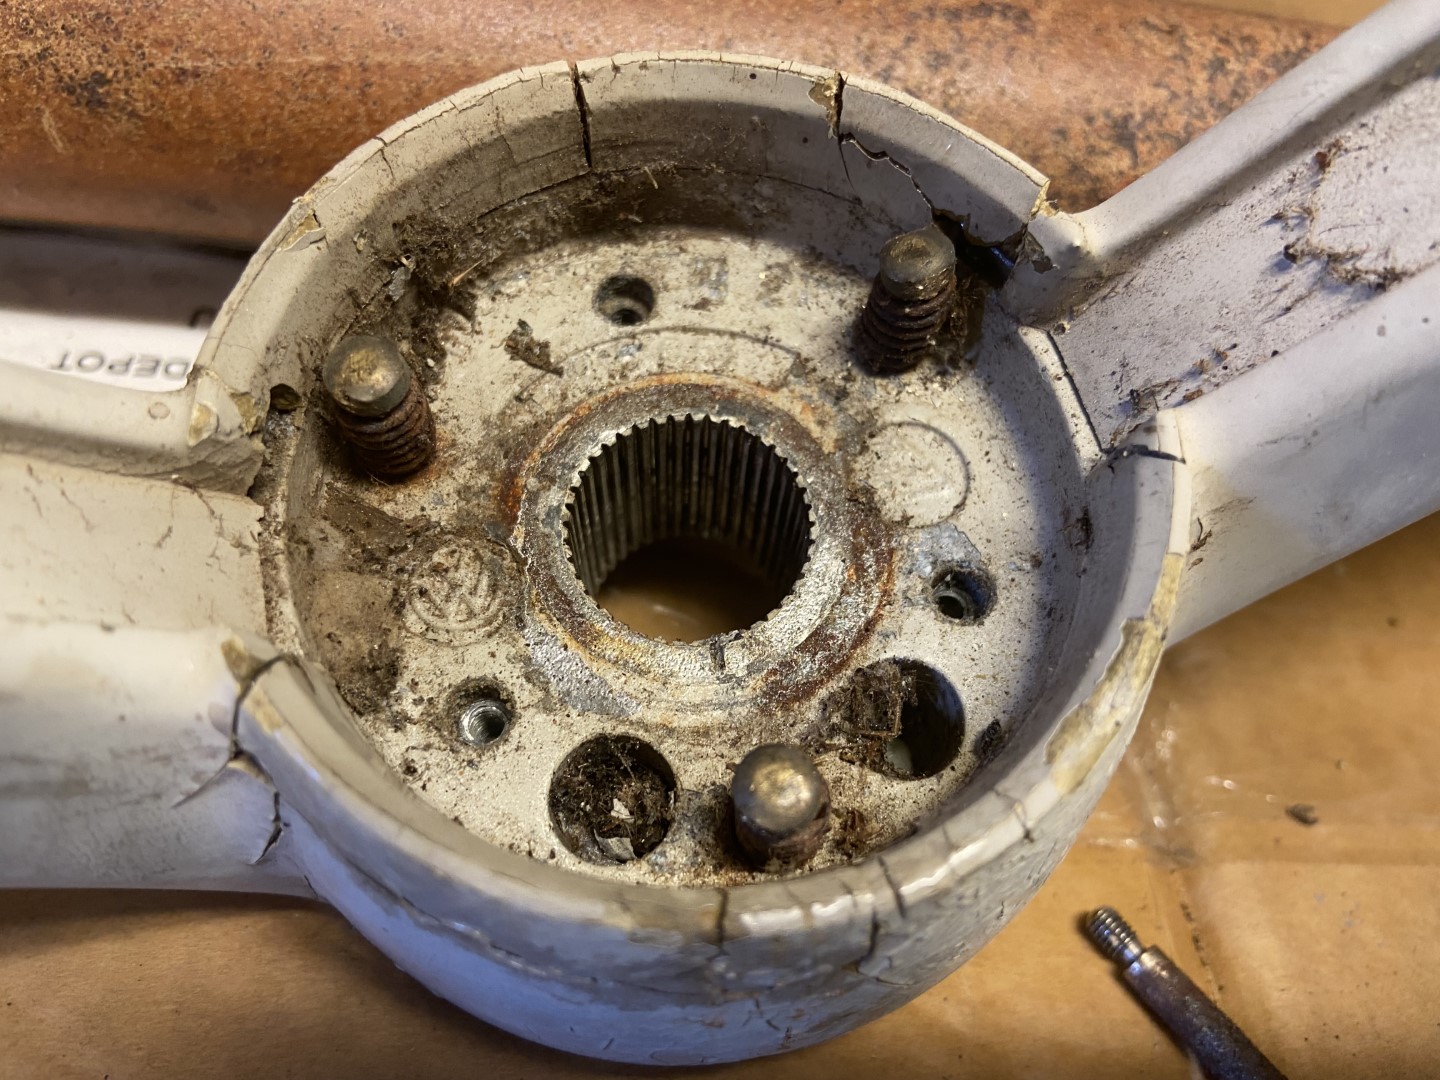
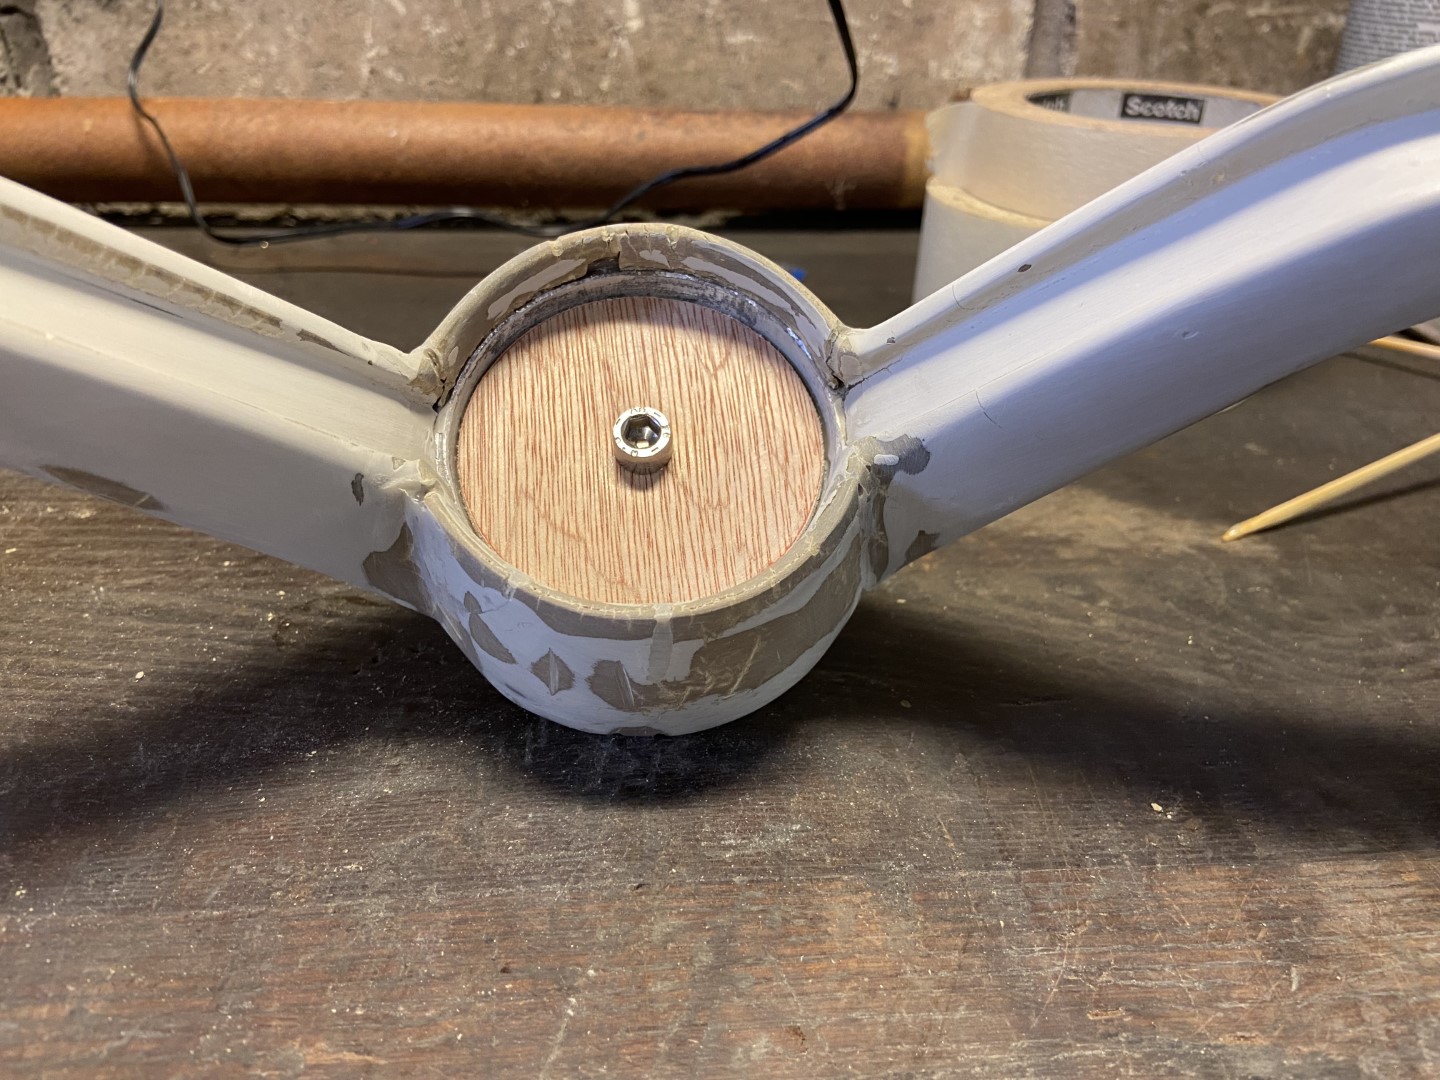
I’m going to separate the body from the pan soon, and obviously to do this the steering column needs to be disconnected, so I just took it out the car completely. I’m not familiar with this style of column so I photographed how it goes together. I painted the nut and washer just because I had the spray cans to hand!!


I’d never seen a steering column with actual bearings in it before (I’m used to earlier ones with brass bushes). Anyway after 15 years of sitting around in all weather conditions these were notchy, so I cleaned and repacked them with grease. Perfectly smooth now.

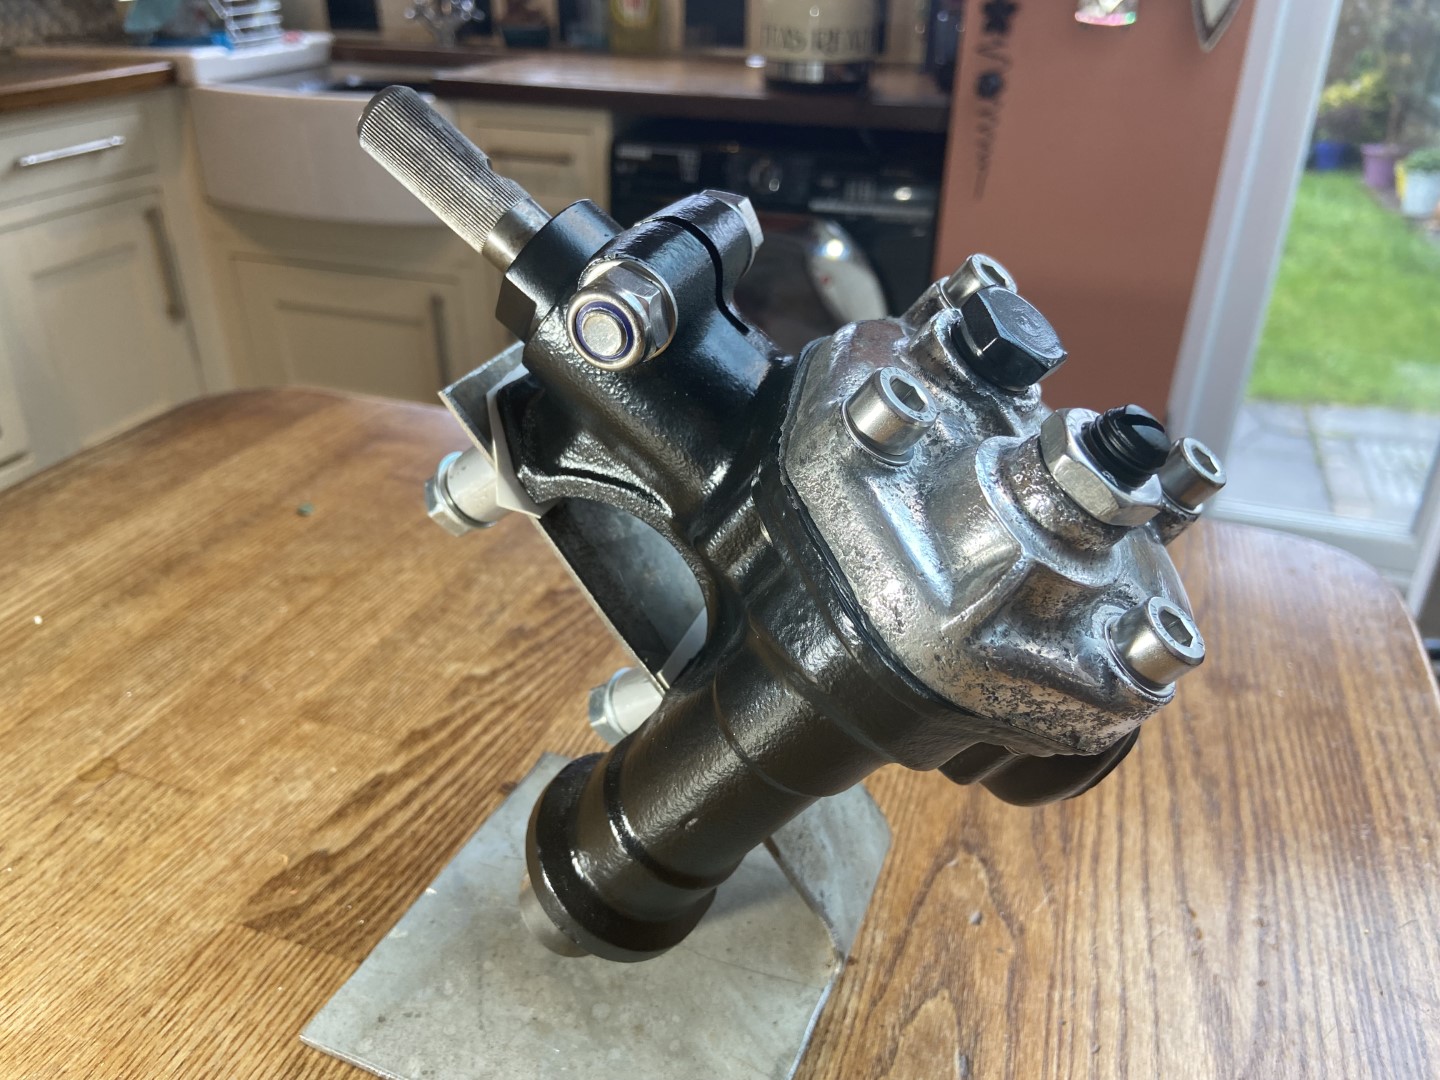
Although the steering box was very rusty, and the aluminium cover was heavily tarnished it didn’t leak and was still very smooth and tight. Very rare for early steering boxes so it was worth saving!


Firstly, I polished the cover to make sure it would come up OK. Considering the state, it was in to begin with came up fairly well.

Once I knew the cover would come up half decent, I repainted the body in black, and replaced the cover bolts and adjuster locking nut with stainless items. The filler plug was painted a dark metallic grey, but it looks a bit weird in the pictures! The steering box also got fresh EP90 oil. I’m quite pleased with how it turned out for a 60-year-old steering box!


I decide to repaint/ restore the original tie rod even though I am probably going to narrow the beam. The early type tie rod end are actually really robust, and do not often wear out. They are also pretty easy to service and recondition. The first task was to clean them up.

Next, I replaced the steering damper bush. This had long since seen better days.


Then everything got a coat of paint and re-assembled. I decided to make it more difficult for myself by painting the tie rods black, and the tie rod ends silver! Oh and the grease nipple have been replaced with stainless items.


As well as the original tie rods, I also decided to put together a set of tie rods which used later style sealed boot tie rod ends. These are the same length as the originals, but if I narrow the beam, they will need to be narrowed at a later stage. To make adjustment easier I also welded on large nuts (I bet you giggled!) to the tie rod arms.


Again, everything got a fresh coat of paint (individually! You don’t realize how many bits make up tie rods till you repaint them!). As with the original ones, I decided to painting the tie rods black, and the tie rod ends silver.


I learnt a lesson from doing these! (Other than trying to paint in the British cold weather is a b@stard!!) Check, check and check again!! Long story short, I’ve welded the adjuster nuts on the wrong ends!!! There on the inside by the steering box, not the outside!! Luckily a good friend of mine has a lathe and he removed them very neatly (Thank you Phil! You’re a legend!). New nuts will be welded on, and the tie rods repainted…….

Turning my attention to other steering components, the steering column was cleaned up and given a coat of paint.

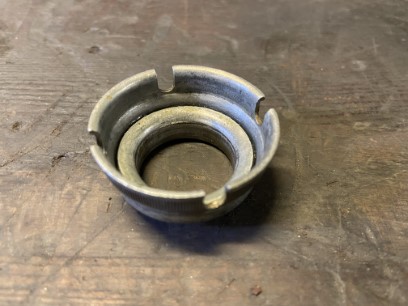
And here are some random steering parts I painted up. None of these are original. I just had them lying around so I painted them!


However, once the original steering parts were taken off the car these were cleaned up and painted.

Jump to next parts restoration section >