< Back to the original car section

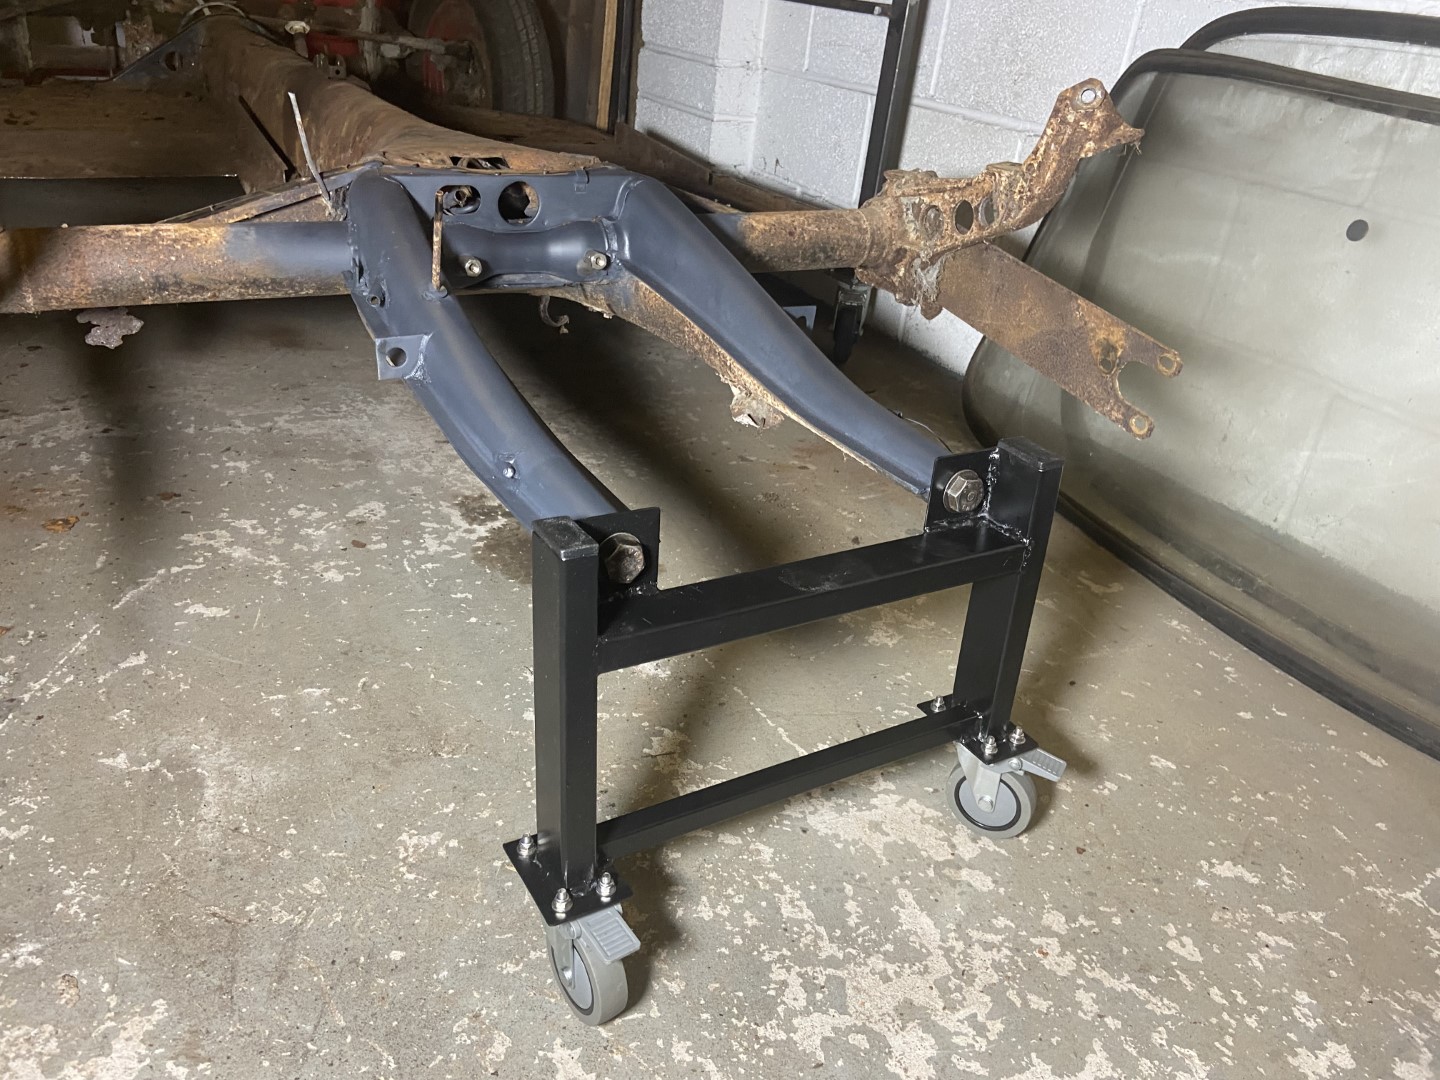
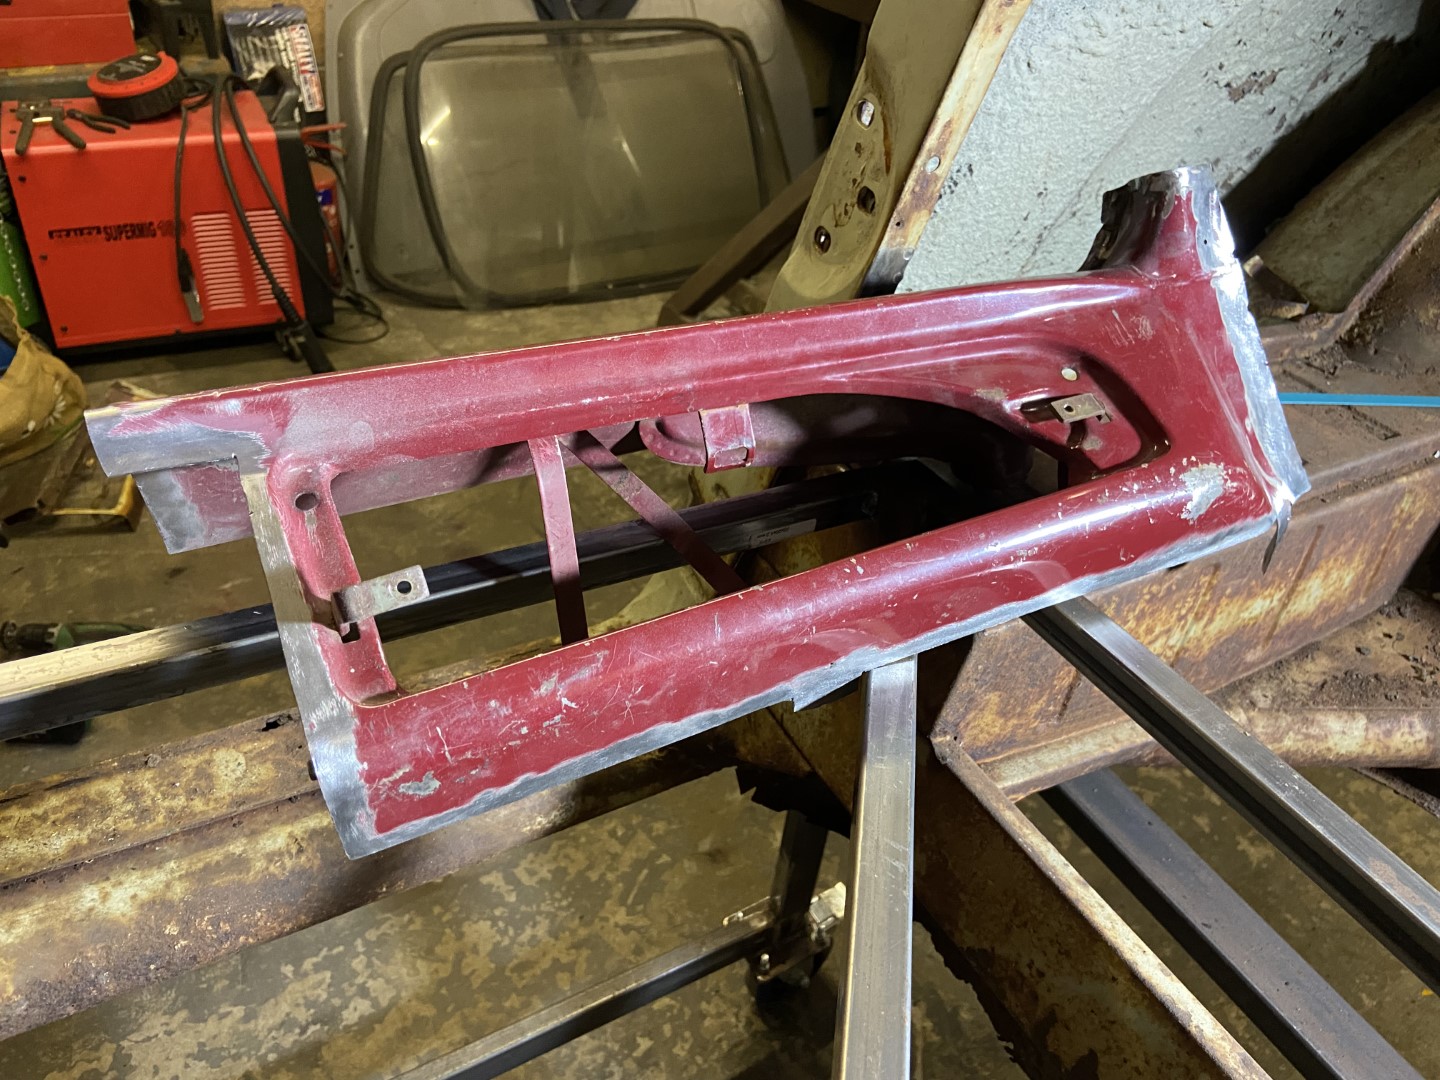
Restoration of the Body


Firewall straighten and bare metal
Well, I had to start somewhere, so the first thing I decided to do was straighten the badly dented firewall. I did this first because not only did it bug me, but it also affected the opening of the engine lid as it kinked the hinge brackets.

I wasn’t going for perfection, and you can see that by the used of my ‘bodywork’ lump hammer!! I just wanted to get it somewhere near straight. As you can see it was a mucky job!! Once it was done, I bare metalled the firewall to see how much rust was in it (luckily very little) and put a coat of etch primer over it to stop anymore rusting.


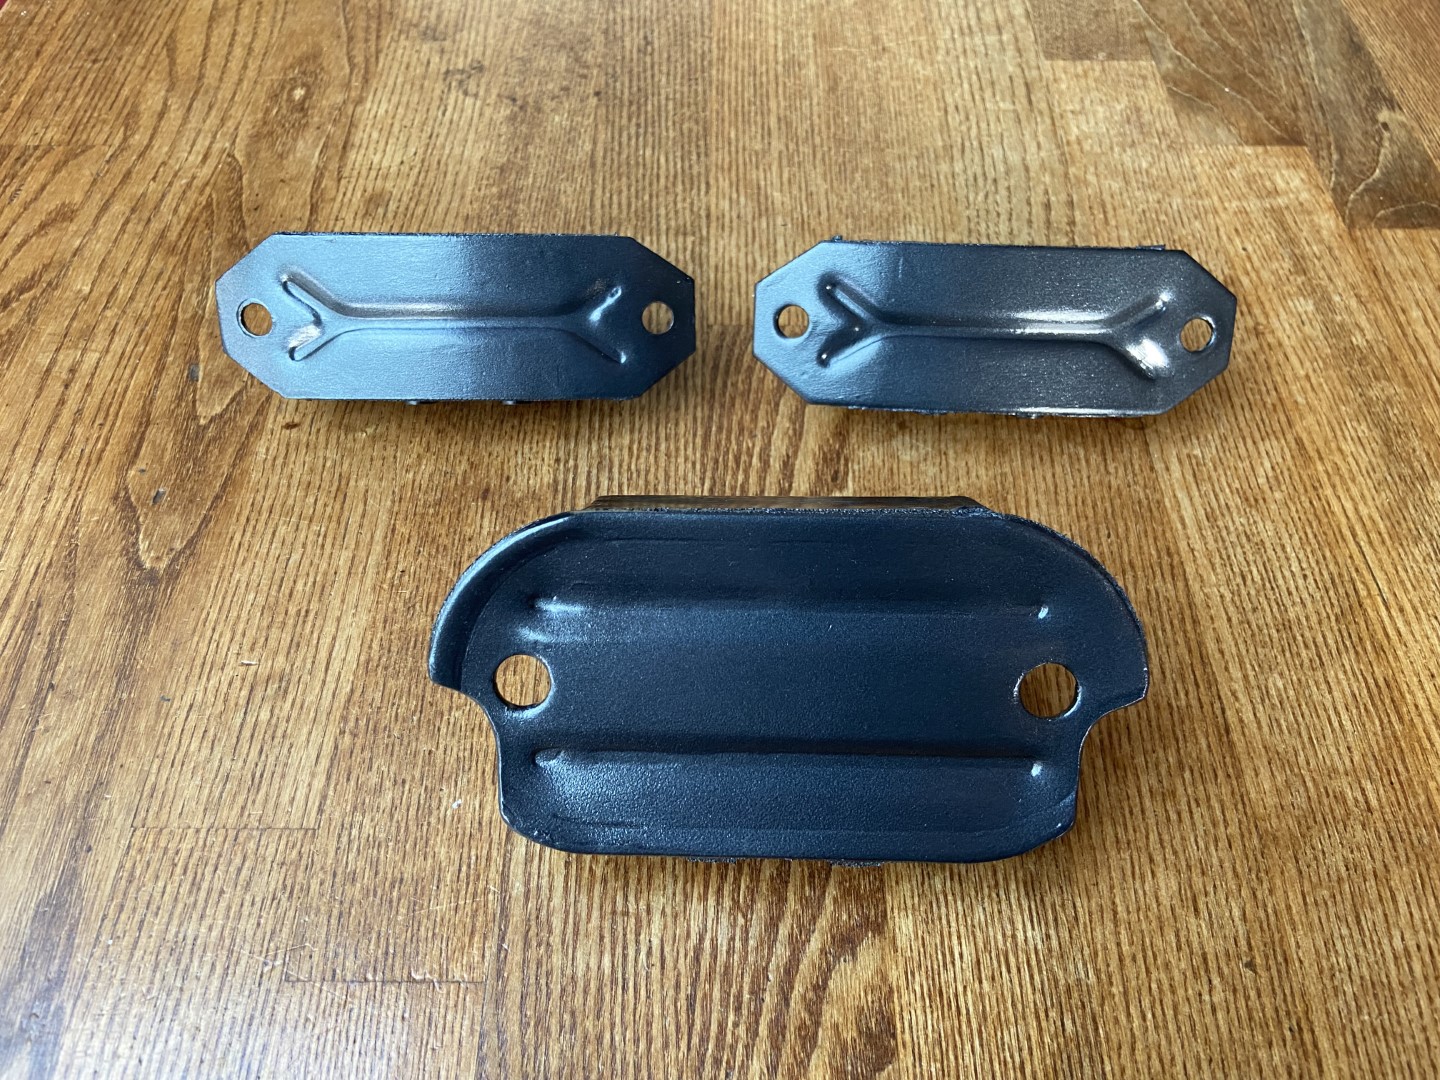
The bolts holding the engine lid hinge to the firewall were so rusted up I ended up damaging the standard captive bolt arrangement getting them out. This would have been very difficult to fabricate, and as they won’t be seen I decide to grind what was left of the original arrangement off, and make up my own retaining plate.


Bracing the body
I decide that the next step after this should be separating the body from the floorpan, as not only was replacing the very rotten floorpans and big psychological milestone, it also allows much better access to the body of the car (and also I was sick of falling through the floor!!)

However, before I did this, I decide (as well as a number of friends saying do this!) it was a good idea to brace the car, as I was not to sure how solid the heater channels were and I didn’t want the body to get out of shape. I’ve probably gone a bit over the top with the bracing, but better to do over brace it than not.


Seperating the body and floorpan
Well it was finally time to split the body and the floorpan. Most of the bolts holding the two together came out OK, with only one or two sheering off. After a trial lift by myself to make sure the two were separated, I asked a couple of friends to help me lift it onto a body stand (more below about the stand). Cheers Gilo, Ewan, Rod, Stretch, and Graham for the muscle!

Although the floorpan was absolutely caked in sand from its time in the desert (which seems to have set like concrete!!), other than the floorpans it didn’t seem in to be in to bad shape.


Body and floorpan stands
Storage and space was always going to be an issue for me as I kept the car in a shared garage, so I wanted an arrangement where I could work on the floorpan and body separately but store them together. I therefore fabricated a stand for the body which was high so the floorpan could be stored underneath it. I started off with a pair of basic stands, but I decided to make this a more solid arrangement by welding them together, later-on adding some casters for ease of moving the body around.


Turning my attention to the floorpan, I fabricated a stand (again on casters) which could be bolted to the frameworks. Although this works fine, I think I am actually going to make another pair of caster stands that bolts to where the spring plate covers mount at a later date so that it allows me to fit the gearbox and work on that area easily.


At the front of the floorpan, rather than fabricating a complete now mount, I made one from an old beam that I had lying around. Basically I cut the shock towers off, and welded on uprights on casters to the tubes. I had completely forgotten how much grease were in these, and what a horrid job it was cleaning it all out!


Stripping the floorpan down
The first thing I did in relation to stripping the floorpan down was to remove the gearbox. I don’t think this had ever been out and many of the bolts took some "persuasion" (i.e. an impact gun!!). However, other than bolts being pretty tight it was fairly straight forward.

Although the pan looked OK (well other than the floorpans and the ton of sand welded to everything!) I wanted to check how solid it was especially in crucial areas such as the frame forks. These were cleaned up by scraping all the sand and oil off, and then a cup brush was used to bare metal them. Luckily the whole area seems to be pretty solid. A coat of etch primer finished it off nicely.

Note the one year only (1960) gearbox mount arrangement which consists of a pair of studs mounted directly to the torsion tube (these are covered by rubber glove tips in the photo!!). I’m still not sure what I am going to do about this as the one year only mount is super hard to find/ and there is no uprated version of these. I might weld on a later mount or fabricate my own 'intermediate plate' that takes a later mount. We’ll see……

Next up the spring plates were removed. This was relatively drama free.


And then the front beam, suspension and brakes were removed. I was quite pleased to find out the framehead was solid.


Dashboard Repair
Although not the most essential repair that needs doing the dashboard is literally very much in your face so it was the first repair I started to do. Sadly, it is also one of the most awkward due to the many curves. First step was to grind back all the rust and see just how bad it was….. it was bad.


The first area I decided to tackle was the glove box area. I ended up cutting a lot out to get to clean metal!

I had thought about making this panel, but it really is a complex panel full of curves. Luckily, I managed to find a cut of this section from another car.

The donor panel was trimmed until it fitted perfectly into the dash, and the edges were all bare metalled ready for welding in.

However, before I welded the dash in, I had to do a small repair on the window lip. This piece has a slight cure in it, so I used my shrinker stretcher tool to make a new piece to be welded in. Excuse the sh*t welding (it is solid), I have a new welder and it took me a while to get it set right, as well as for me getting used to welding to old thin car metal!!


So then it was time to weld the dash section in. To be honest, it went in fairly easy. Just need to grinding the welds back now and get some etch primer on it to stop the rust coming back.


Early Gearbox Mount Adaption for Later Gearbox Mount and Box
As I talked about earlier the gearbox mount arrangement on the tunnel is a 1960 one year only thing and the original rubber mounts that fit to this are super hard to find. The way most people deal with this is to weld a later mount bracket onto the tunnel, and use later rubber mounts in conjunction with a splitscreen nosecone allowing the use of a later gearbox (I was planning to fit a later uprated gearbox at some stage). However I didn’t want to do anything to alters the originality of the car, thus I needed to come up with another solution.

I couldn’t simply use my original rubber mount as this had fallen apart, but I did need it to measure for the modification I was hoping to do. Therefore, I put it back together using some very small bolts. I gave it a quick lick of paint as well just because I could.


Next up I re-installed the original early split case gearbox (the axles have been removed as I’m going to need them for the later gearbox and it made it easier to lump around!!). This allowed me to accurately measure the angle that the rear of the gearbox sits at. I did this so I could check the later gearbox sat at the same angle.


It took lots of measuring but I finally came up with this solution, an intermediate steel bracket that bolted onto the original mount point, but took a later splitscreen rubber mount. As you can see the splitscreen rubber mount had to be slightly modified so that the nuts could be fitted.

So lets see if it all works!


It did!! :-) A quick check was done to make sure the gearbox sat at the same angle as the original one. It was about 2 degrees out, but it was the best I could do, as the nosecone hockey stick had to go into the tunnel where it did. Hopefully 2 degrees should be ok anyway, and I can try and adjust it a bit at the gearbox cradle.

Finally the new metal intermediate mount was given a lick of paint.

As I’d painted the intermediate mount, I decided I might as well tidy up the rubber mounts (both front and back) as the paint on the metal was looking a bit worn with all the trial fitting. I decided to paint it a dark anthracite grey as there was to many black parts on the chassis!


Jump to parts restoration section >